You spent hours scripting, rehearsing, even editing your debut episode—only to hear it back sounding like it was recorded inside a tin can. Frustrating? Absolutely. Most new podcasters blow their budget on shiny gear that solves the wrong problems. The fix isn’t more equipment—it’s smarter choices. Here’s how to build a lean, professional-sounding podcast studio without going broke.
Why 90% of New Podcasters Fail at Audio Quality
They chase specs, not results. USB mics with “studio quality” labels. Pop filters from Amazon’s first page. Acoustic foam slapped on walls like wallpaper. None of it fixes the real issue: untreated room acoustics and poor gain staging.
Microphones don’t capture “voice”—they capture voice + room reflections + electrical noise. And in untreated spaces, reverb drowns clarity faster than background hiss ever could. Yet most guides ignore this. They’ll tell you to buy a $300 mic before addressing why your basement sounds like a subway station.
Recording Equipment for Podcast: A Step-by-Step Build That Actually Scales
Start with the source: Your microphone
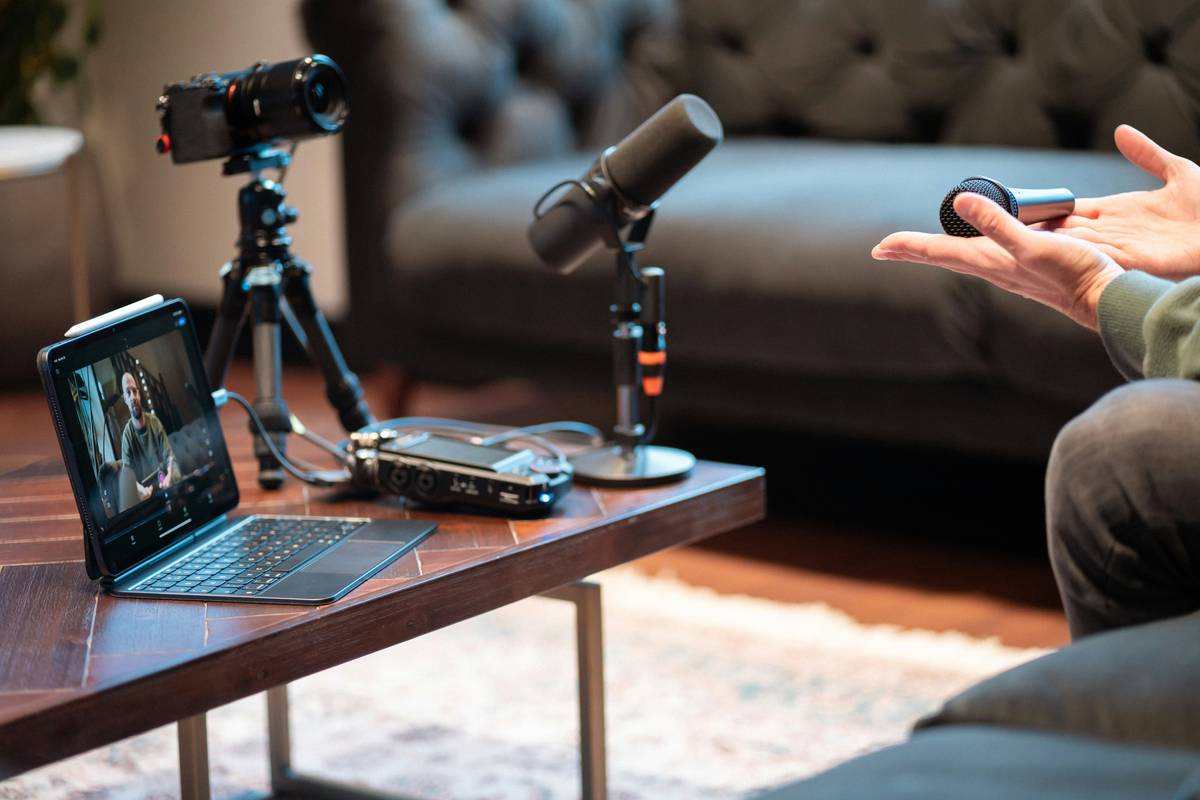
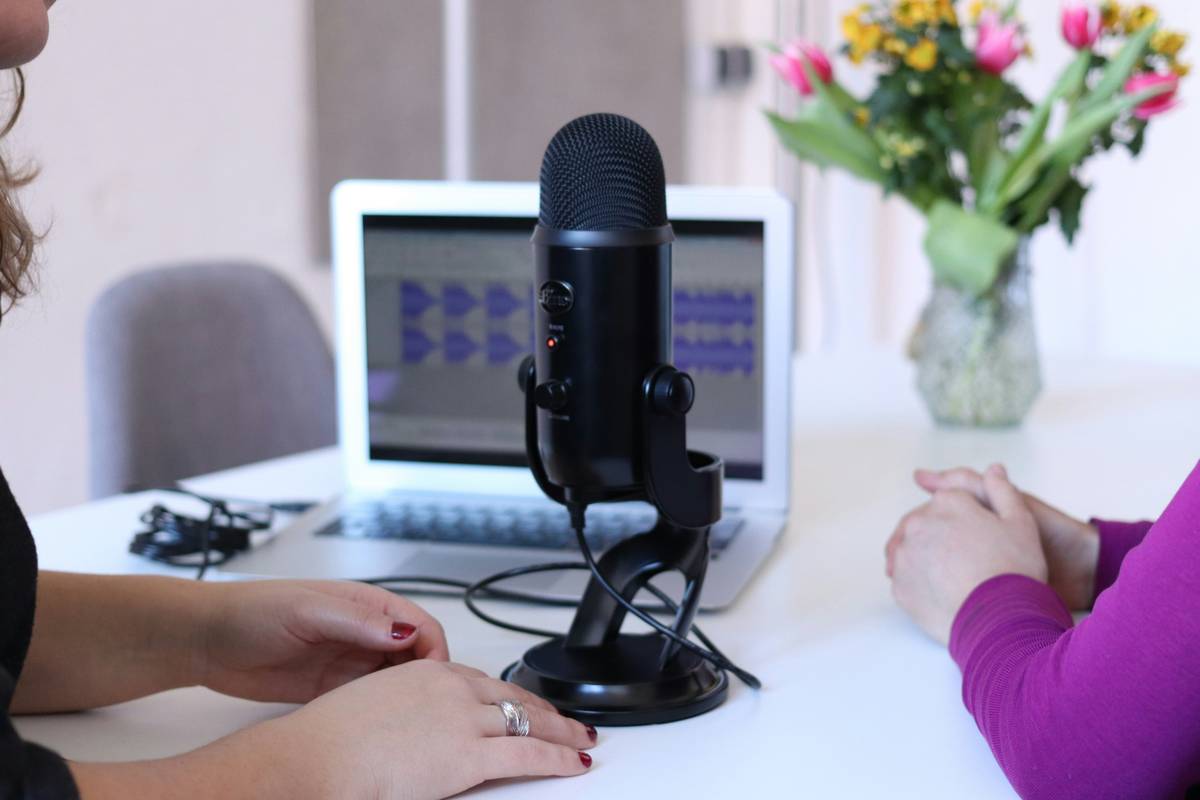
XLR > USB. Always. Why? Flexibility. An XLR mic paired with an audio interface gives you phantom power control, better preamps, and upgrade paths. The Shure SM7B remains the gold standard—but only if you’ve got enough clean gain. If not, the Electro-Voice RE20 delivers broadcast tone without needing a cloudlifter.
Interface matters more than you think
A cheap interface adds noise and limits headroom. Go for at least 60dB of clean gain if you’re using dynamic mics like the SM7B. Focusrite Scarlett 2i2 (3rd gen or newer) works for condensers; for dynamics, consider the Motu M2 or Universal Audio Volt 276—they include built-in compression and gain boosts that mimic classic hardware chains.
Acoustic treatment isn’t optional
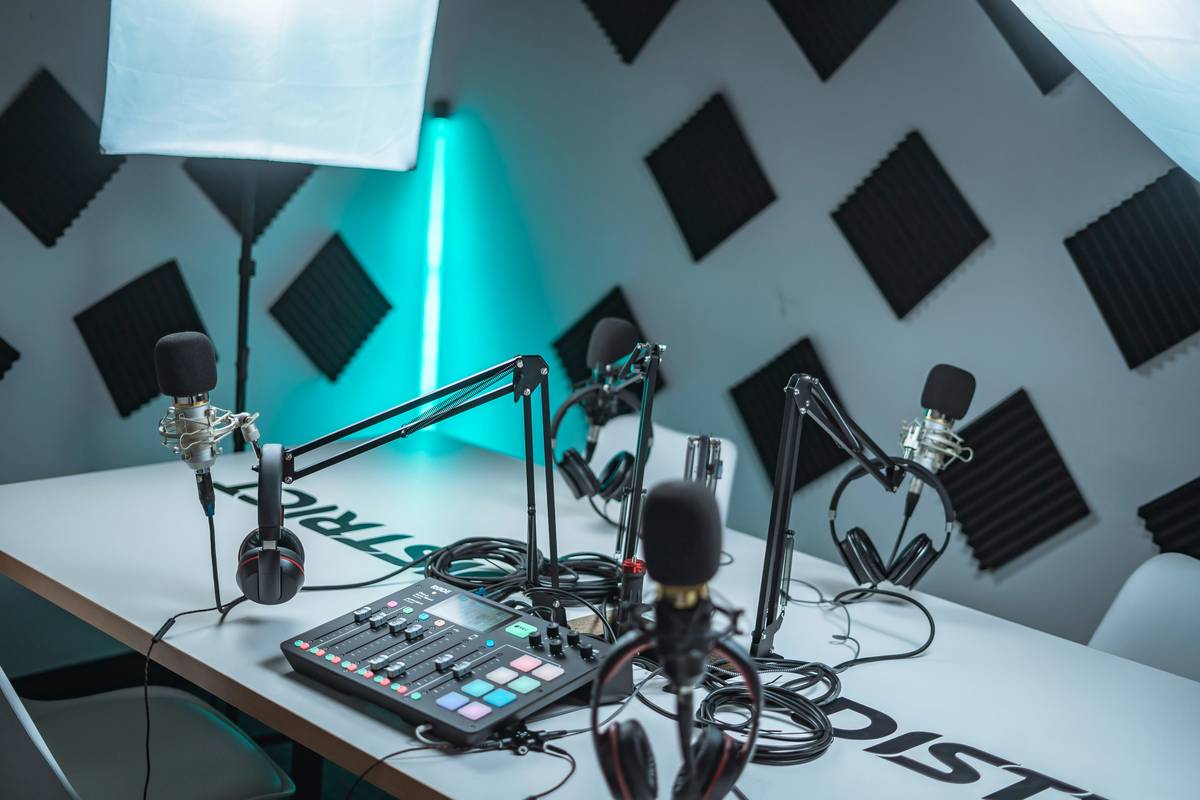
Forget foam panels. You need broadband absorption. Place thick moving blankets behind you as a temporary fix. For permanent setups, use rigid fiberglass panels (like Rockwool) covered in fabric—minimum 2” thick—on first reflection points. Bass traps in corners? Even better. Your ears will thank you.
Headphones and monitoring
Closed-back headphones prevent bleed during recording. Sony MDR-7506 or Audio-Technica ATH-M50x are reliable, fatigue-resistant choices. Never monitor through laptop speakers—latency and frequency masking will sabotage your takes.
| Setup Tier | Core Gear | Total Cost | Best For |
|---|---|---|---|
| Budget Starter | Samson Q2U (XLR+USB), Behringer UM2, basic pop filter | $120 | Solo hosts testing concepts |
| Prosumer Core | Shure MV7 (or RE20), Motu M2, DIY acoustic panels | $450 | Weekly shows aiming for distribution |
| Studio-Ready | SM7B + Cloudlifter, UA Volt 276, treated booth, Beyerdynamic DT 770 | $950+ | Monetized podcasts & interview formats |
The Industry Secret: Gain Staging Beats Expensive Mics
Here’s what no one tells you: a $100 mic recorded at optimal levels beats a $500 mic buried in noise floor. Aim for peak levels around -12dBFS during speaking—not -6, not -18. Too hot = distortion. Too quiet = amplified hiss in post.
And—this is critical—always record dry. No compression, no EQ in your DAW while tracking. Why? Because once baked in, you can’t undo it. Clean tracks give you surgical control later. Most “pro” presets apply subtle compression that masks clipping until it’s too late. Trust your meters, not the preset name.
FAQ
Do I really need an XLR mic for podcasting?
No—if you’re solo, on a tight budget, and record in a quiet space, a high-quality USB mic like the Shure MV7 works. But XLR offers future-proofing and better signal integrity for multi-host setups.
Can I use AirPods to record a podcast?
Absolutely not. Bluetooth introduces latency and compresses audio. You’ll lose nuance, timing, and dynamic range. Use wired headphones only—preferably closed-back models.
How much should I spend on acoustic treatment?
Start with $50: hang heavy blankets behind and beside your mic. If serious, invest $200–$400 in proper absorption panels. Better treatment often improves sound more than upgrading your mic.