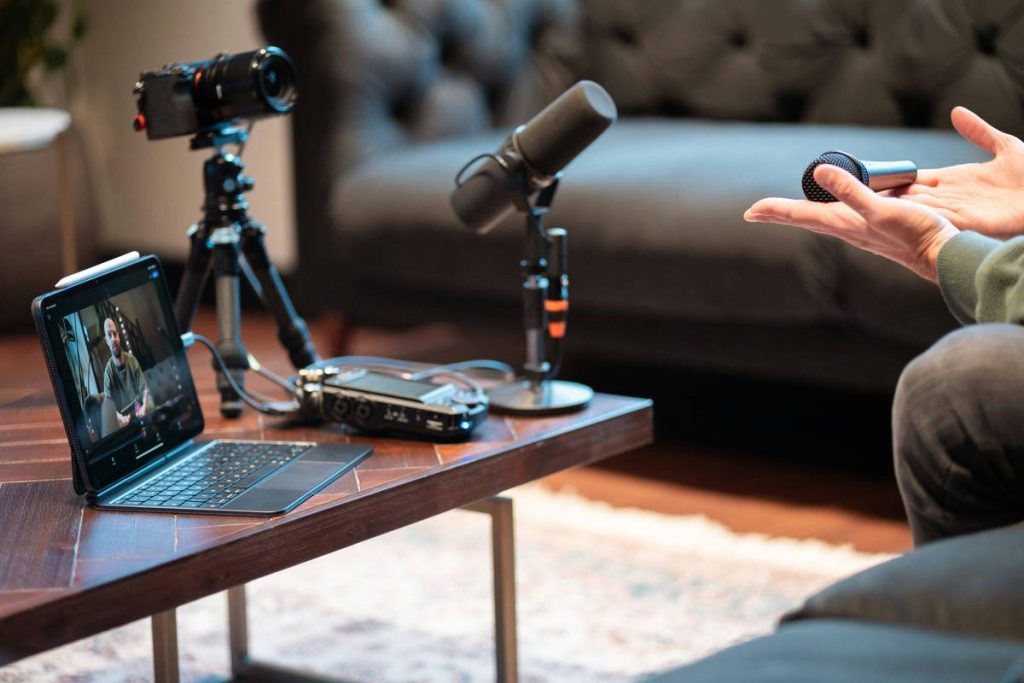
You bought the mic. You downloaded Audacity. You even hung a blanket over your closet door—yet your audio still sounds thin, echoey, or like it was recorded inside a tin can. Here’s the problem: most beginners treat “podcast recording area equipment” like a shopping list instead of a system. And that mismatch kills clarity, costs cash, and delays launch.
Why Off-the-Shelf “Podcast Kits” Fail in Real Rooms
Those $300 bundles? They assume you’re recording in an acoustically neutral space. Spoiler: your spare bedroom isn’t one.
Most starter kits include a condenser mic, pop filter, boom arm—and zero acoustic treatment. So you capture every floorboard creak, laptop fan whir, and distant car horn. Worse, untreated walls bounce sound back into the mic, creating phase issues that no plugin can fully fix. The result? Listeners subconsciously tune out because your voice lacks presence.
Think about it: a $1,200 Neumann mic in a reflective room sounds worse than a $200 dynamic mic in a deadened corner. Gear alone doesn’t make quality—it’s the entire signal chain, starting with your physical environment.
Step-by-Step Guide to Building Your Podcast Recording Area Equipment Setup
Forget gear lust. Prioritize physics first, then electronics. Here’s how:
1. Define Your Recording Zone (Not the Whole Room)
Isolate a 4’x4’ zone within your larger space. This mini-studio approach is cheaper and more effective than treating entire walls.
2. Kill Early Reflections Before Buying a New Mic
Place absorption panels at first reflection points—typically side walls and ceiling above your desk. Use rigid fiberglass (OC 703 or equivalent), not foam egg crates. Foam only absorbs high frequencies; real absorption needs mass and depth.
3. Choose Gear That Matches Your Voice and Workflow
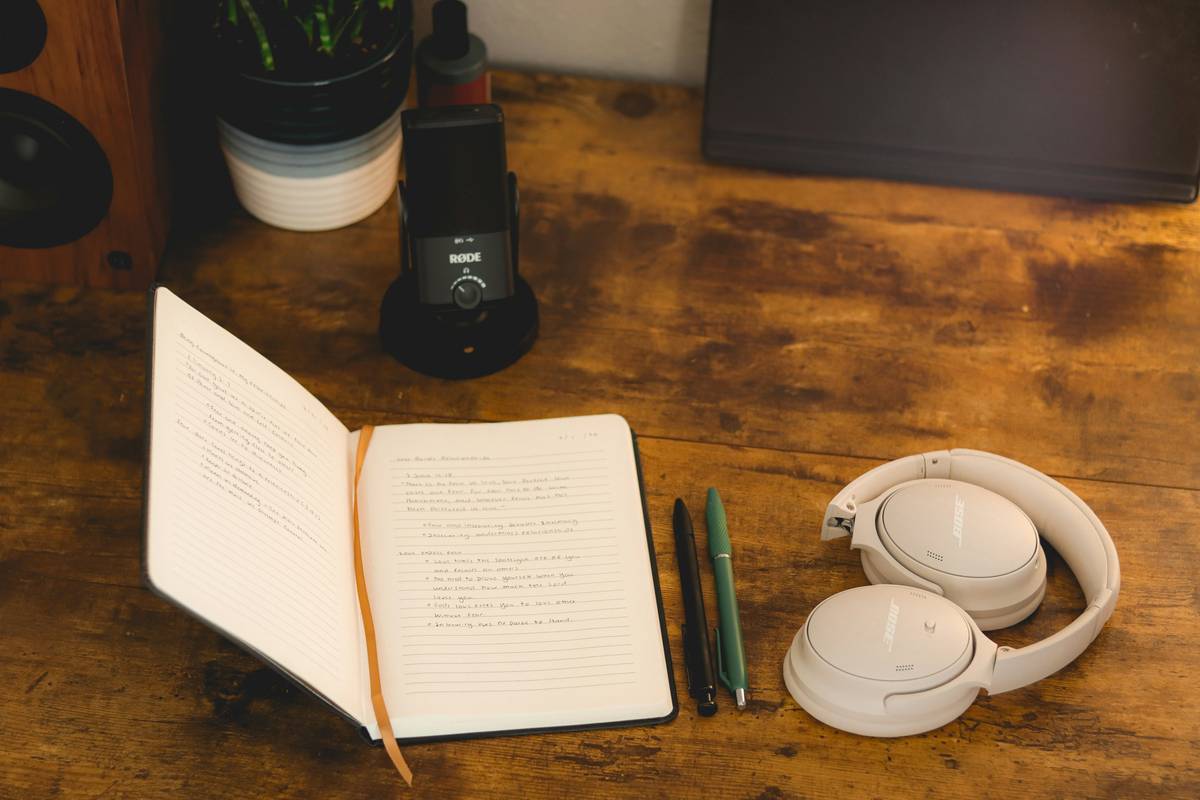
If you record solo and move around, a dynamic mic like the Shure SM7B rejects ambient noise better than fragile condensers. But if you host co-hosted interviews via Zoom, a USB condenser (like the Rode NT-USB+) offers cleaner digital capture with less latency hassle.
| Setup Tier | Core Equipment | Budget Range | Ideal For |
|---|---|---|---|
| Starter | Dynamic mic (e.g., Samson Q2U), DIY reflection filter, free DAW | $80–$150 | Solo narrators in noisy apartments |
| Intermediate | Audio interface, XLR condenser mic, 2x wall panels, shock mount | $350–$600 | Co-hosted shows with remote guests |
| Pro | Dual-channel interface, broadcast mic, full corner trap + ceiling cloud, monitor headphones | $900+ | Monetized podcasts needing network-grade audio |
4. Test Before You Tape Down Anything
Use the “clap test”: stand in your intended spot and clap sharply. If you hear a distinct echo or ringing tail longer than 0.4 seconds, you need more absorption—not another mic preamp.
The Industry Secret: Your Floor Is Stealing Your Low End
Here’s what studio designers won’t tell you—hard floors under your chair create standing waves that muddy vocal warmth. Even carpet helps, but the real fix? A thick rug with dense padding underneath your recording chair. It decouples foot-tap vibrations and absorbs low-mid rumble that bounces up from below.
I tested this on a client’s setup: same mic, same paneling—but swapped a hardwood floor for a 1.5-inch wool rug. The difference? -3dB reduction in 120–250Hz mud without touching EQ. The math is simple: control what hits the mic first—airborne sound and structure-borne vibration.
Frequently Asked Questions
What’s the bare minimum podcast recording area equipment I need?
A quiet corner, a dynamic USB/XLR mic, one absorption panel behind you, and closed-back headphones. Skip fancy stands until your audio sounds clean.
Do I need soundproofing for podcasting?
No. Soundproofing blocks outside noise from entering. Most home podcasters only need acoustic treatment—absorbing internal reflections so your mic hears just your voice.
Can I use a closet as a podcast recording area?
Yes—if it’s filled with hanging clothes (natural diffusion) and you position yourself facing inward. But avoid empty closets; they act like resonant boxes that color your tone.