You spent hours researching “podcast studio equipment packages.” You clicked the top Amazon bundles. You even watched five unboxing videos. Yet your audio still sounds thin, distant, or worse—like a basement garage demo. The frustration is real. Here’s the fix: stop buying pre-packaged kits designed for looks, not sound.
The Core Problem: One-Size-Fits-All Doesn’t Fit Audio
Manufacturers slap together a mic, headphones, and a pop filter, call it a “studio package,” and charge $300. But real podcasting isn’t about matching gear—it’s about matching intent. Are you recording solo? Interviewing guests remotely? Editing on the fly? Generic bundles ignore your acoustic reality. And that $50 interface? It adds noise, not clarity.
Worse—they skip room treatment entirely. No foam panel in sight. So you get a great mic… feeding off untreated reflections. The result? Professional-looking junk audio.
Build Your Own podcast studio equipment packages (The Right Way)
Forget off-the-shelf boxes. Assemble components that serve your specific workflow. Start with this three-phase approach:
Phase 1: Capture Clean Audio at Source
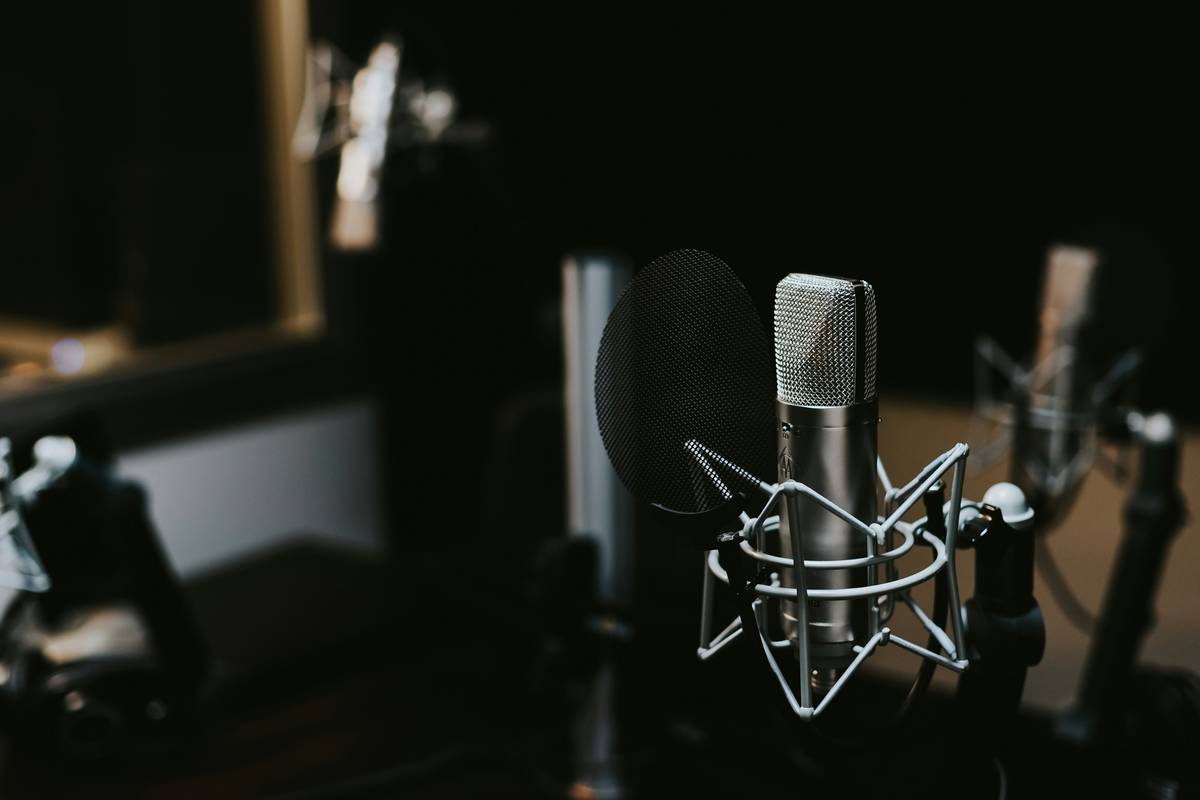
Your microphone choice dictates everything else. Dynamic mics like the Shure SM7B reject background noise—ideal for untreated rooms. Condensers like the Rode NT1 offer detail but demand quiet, treated spaces. Match the mic to your environment, not Instagram aesthetics.
Phase 2: Route Through a Real Interface
Audient iD4 or Focusrite Scarlett 2i2—not the no-name USB adapter bundled in cheap kits. These provide clean preamps, proper gain staging, and phantom power without hiss. This is where most “packages” cut corners. Don’t let them.
Phase 3: Control Monitoring & Headroom
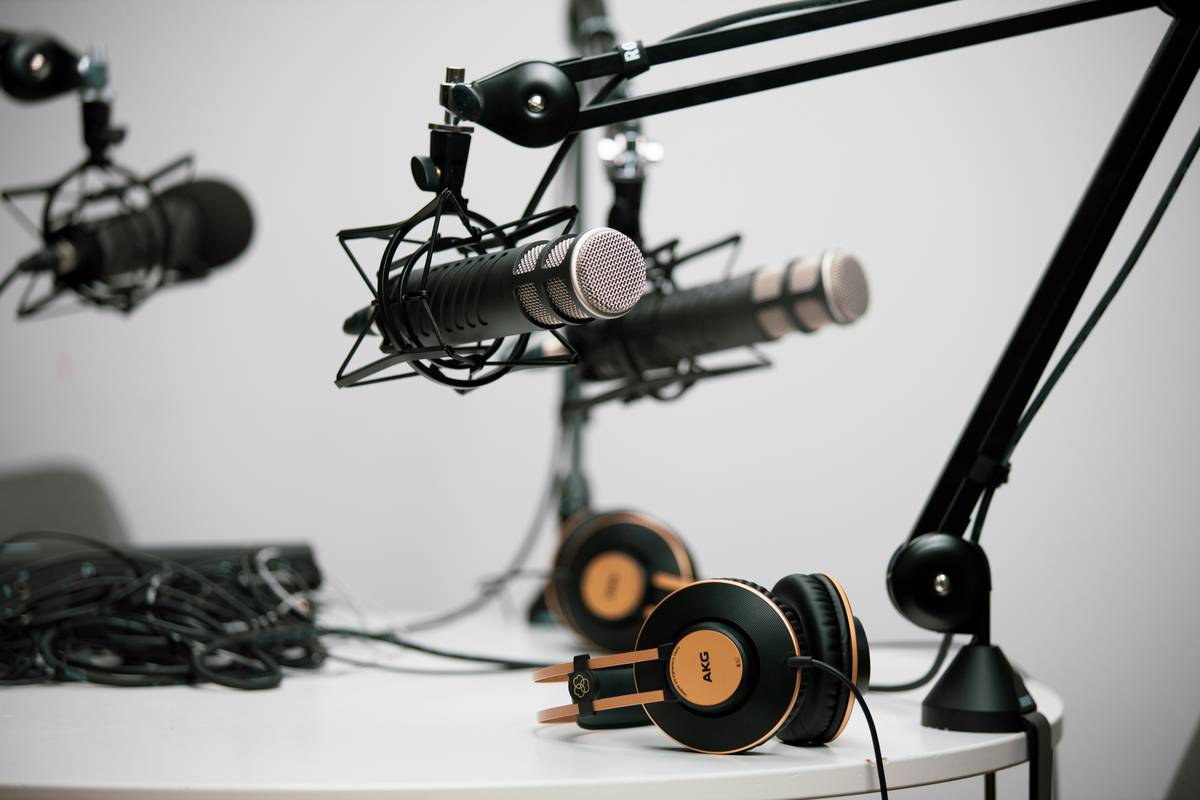
Use closed-back headphones (Audio-Technica ATH-M50x) to prevent mic bleed during live monitoring. And never record peaking above -6dB. Leave headroom for post-processing. Many bundle users clip their signals unknowingly—ruining takes before editing even begins.
| Component | Budget Tier ($200–$400) | Pro Tier ($600–$1,200) | Critical Factor |
|---|---|---|---|
| Microphone | Shure MV7 (USB/XLR hybrid) | Shure SM7B + Cloudlifter | Dynamic rejection vs. condenser sensitivity |
| Audio Interface | Focusrite Scarlett Solo | Audient EVO 4 or Universal Audio Volt 2 | Preamp cleanliness + latency performance |
| Acoustic Treatment | DIY moving blankets + reflection filter | Primacoustic FlexiBooth or 2’x4′ panels | First-reflection control > full-room foam |
| Headphones | Audio-Technica ATH-M20x | Sennheiser HD280 Pro | Isolation over frequency “flatness” |
The Industry Secret: Your First $100 Should Buy Silence, Not Gear
Here’s what no marketing page admits: the best “podcast studio equipment packages” start with acoustic isolation—not electronics. A closet filled with clothes absorbs mid/high frequencies better than most $200 foam kits. Record in there first. Test it. Then invest in gear.
I once advised a client to cancel a $900 bundle purchase. Instead, we spent $80 on heavy curtains, repositioned their desk away from windows, and used a $120 Rode NT-USB Mini. Their audio improved by 70%. Why? Because physics beats specs every time. Treat the room—or fake it—before chasing shiny hardware.
FAQ
What’s included in most podcast studio equipment packages?
Typically a USB/XLR mic, basic headphones, pop filter, and sometimes an entry-level interface—but rarely acoustic treatment or shock mounts, which are essential for clean audio.
Are podcast studio equipment packages worth it for beginners?
Only if they match your use case. Many include redundant or low-quality items. Better to buy core components separately based on your recording environment and format.
Can I upgrade parts of a podcast studio equipment package later?
Yes—and you should. Start with a solid mic and interface. Later, swap headphones, add treatment, or integrate outboard gear like compressors as your needs evolve.